Applying makeup is both an art and a science, blending techniques with personal style to enhance your natural features and boost your confidence. Whether you’re aiming for a simple daytime look or a glamorous evening appearance, mastering makeup application can elevate your beauty routine. Here’s a detailed guide on how to apply makeup effectively, broken down into essential steps.
1. Preparation
Before applying any makeup, it’s crucial to prepare your skin. Start with a clean, moisturized face. Cleanse your skin to remove any impurities or residual makeup from the previous day. Use a gentle cleanser suited to your skin type—be it oily, dry, or combination.
Follow up with a moisturizer to create a smooth base. Even if you have oily skin, don’t skip this step; choose a lightweight, non-comedogenic moisturizer. For extra hydration and to help your makeup last longer, consider using a primer. A primer creates a barrier between your skin and makeup, helping to smooth out imperfections and extend wear.
2. Foundation
Foundation is key to creating an even skin tone. Start by choosing a foundation that matches your skin tone. The best way to test this is by swatching a few shades on your jawline or wrist and selecting the one that blends seamlessly with your skin.
Apply foundation using a brush, sponge, or fingers—whichever you prefer. For a natural finish, use a damp makeup sponge to stipple the foundation onto your skin, working it in with gentle dabbing motions. This technique ensures an even application and helps to build coverage without appearing cakey.
Blend foundation down your neck to avoid a visible line and ensure a seamless transition. For additional coverage, you can build up layers, but remember, less is often more. The goal is to enhance your skin, not mask it.
3. Concealer
Concealer is used to cover blemishes, dark circles, and any imperfections that foundation may not fully address. Choose a concealer that is one or two shades lighter than your foundation for brightening under the eyes. Apply it in a triangular shape under your eyes, which helps to lift and brighten the area. Use a small brush or your fingertip to gently blend the concealer.
For blemishes or redness, use a concealer that matches your foundation. Apply it directly to the problem areas and blend the edges carefully. Setting the concealer with a translucent powder helps to prevent creasing and ensures it stays in place throughout the day.
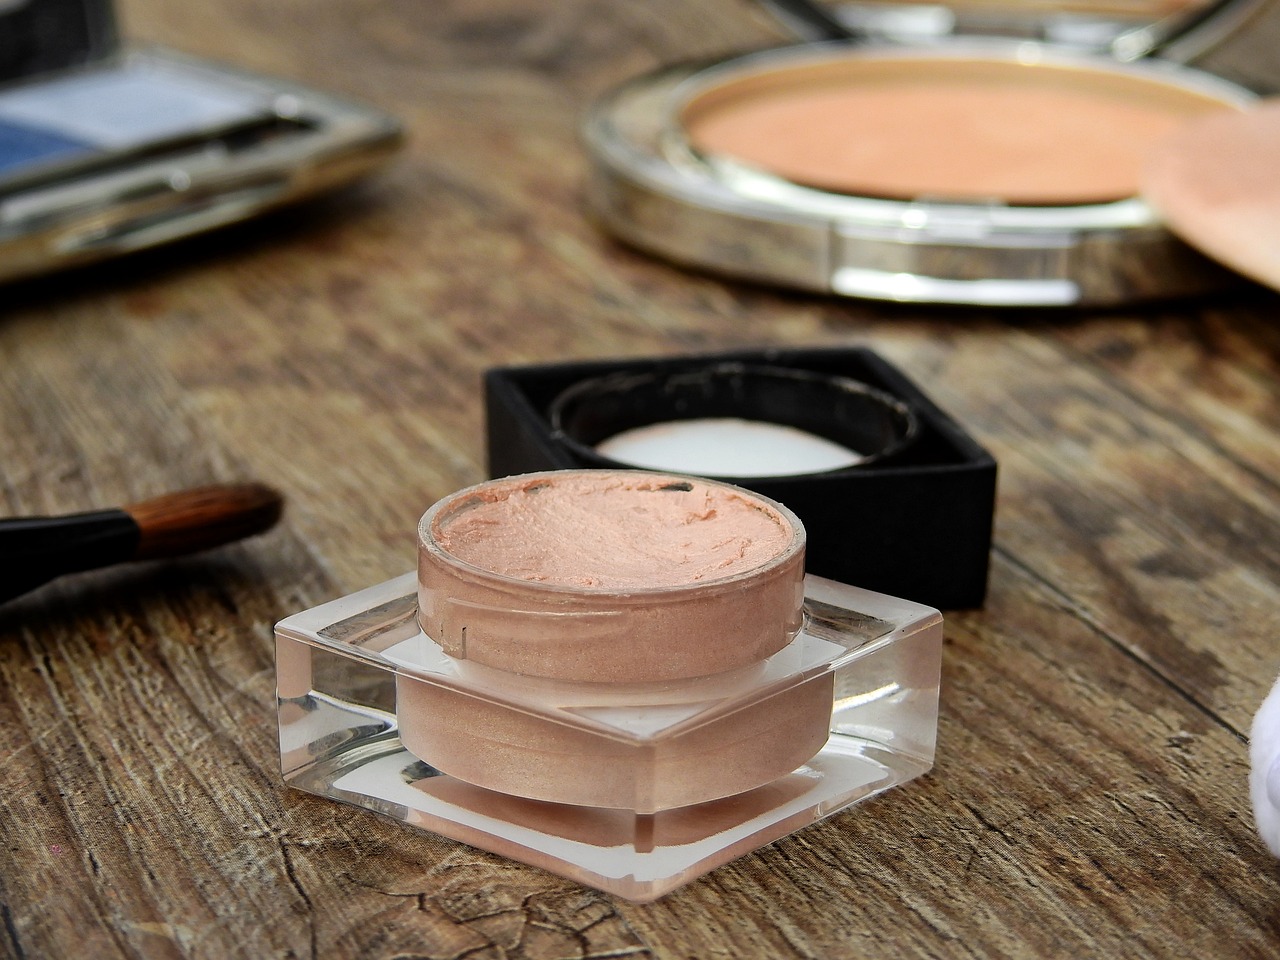
4. Powder
Setting your foundation and concealer with powder is essential for a long-lasting finish. Use a translucent setting powder to lightly dust over your face, focusing on areas prone to oiliness. A fluffy brush is ideal for this step, as it helps to apply the powder evenly without disrupting the underlying makeup.
If you prefer a more matte finish, you can use a pressed powder. Avoid heavy application, as it can make your makeup look dry and cakey. Instead, use a light hand and build coverage gradually.
5. Contour and Highlight
Contouring and highlighting are techniques used to add dimension to your face. Contour is applied to the areas you want to recede, while highlighter is used on areas you want to bring forward.
To contour, use a matte bronzer or contour powder a few shades darker than your foundation. Apply it to the hollows of your cheeks, along your jawline, and along the sides of your nose for a more sculpted look. Blend well to ensure there are no harsh lines.
For highlighting, choose a product with a light, luminous sheen. Apply it to the high points of your face where light naturally hits: the tops of your cheekbones, the bridge of your nose, the center of your forehead, and your cupid’s bow. A cream or liquid highlighter can give a dewy finish, while powder highlighters provide a more intense shine.
6. Eyebrows
Well-defined eyebrows frame your face and complete your makeup look. Start by choosing a brow pencil or powder that matches your natural brow color. Begin by filling in any sparse areas with light, feathery strokes to mimic the appearance of natural brow hairs.
Define the shape of your brows by following their natural arch, and use a spoolie brush to blend the product for a more natural look. Set your brows with a clear or tinted brow gel to keep them in place throughout the day.
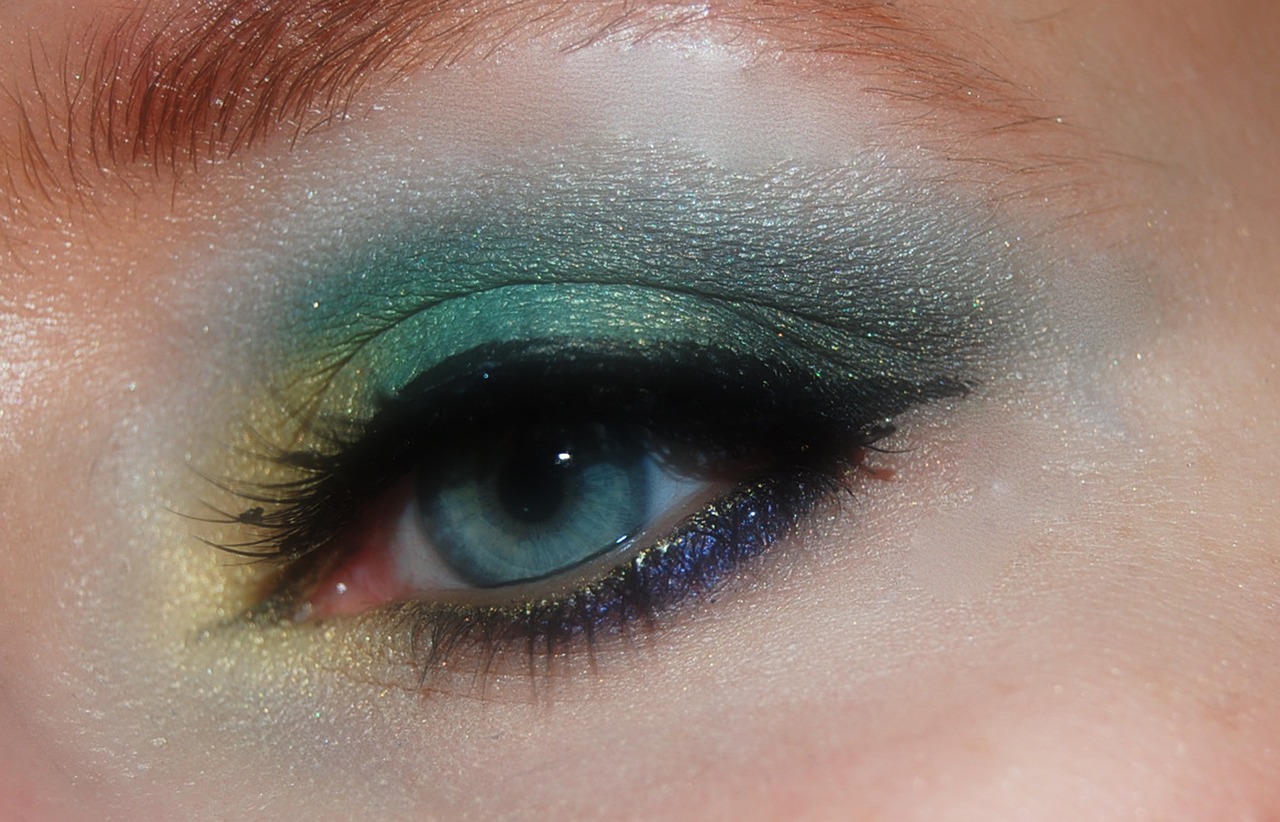
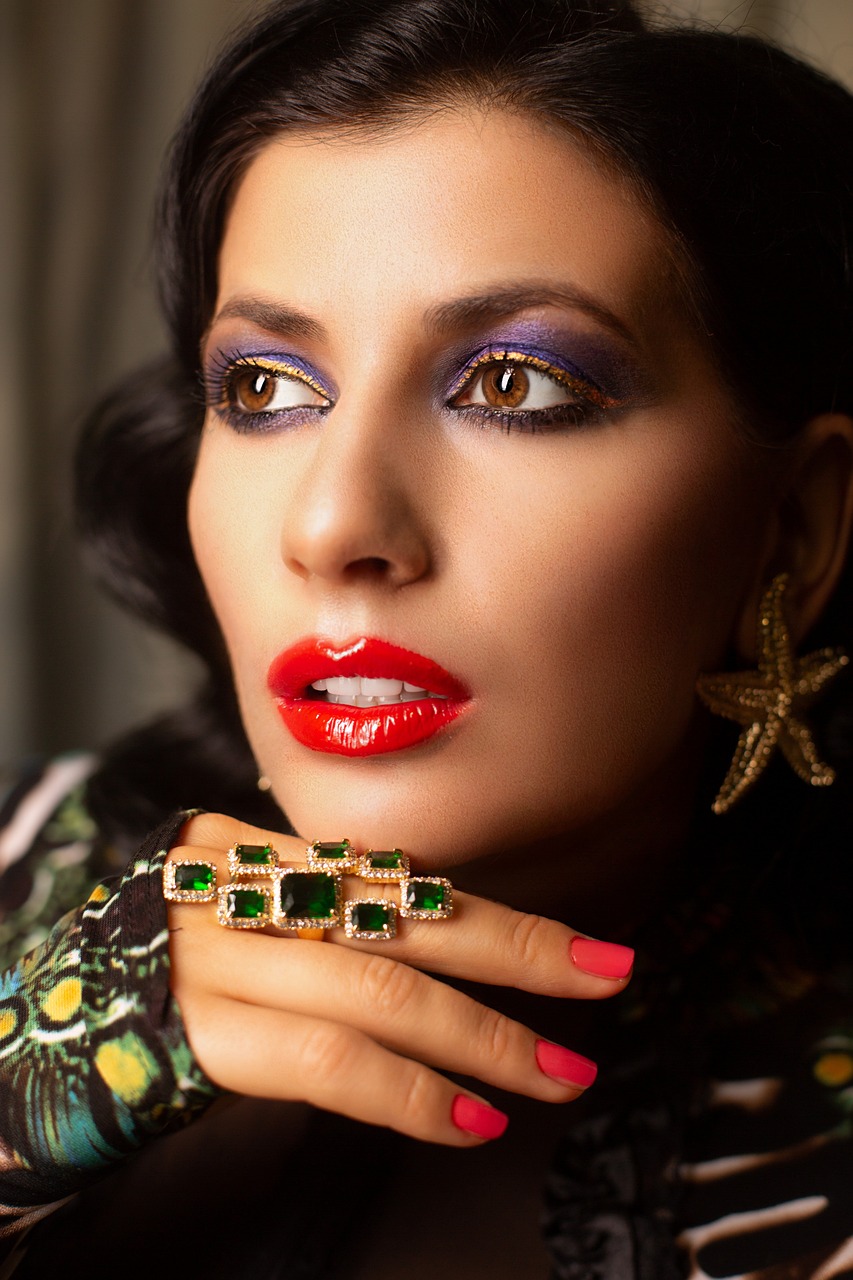
7. Eyes
Eyeshadow application depends on the look you’re aiming for, but a basic approach includes applying a neutral base shade over the entire lid. Use a medium shade in the crease to add depth, and a darker shade on the outer corners to enhance the dimension. Blend well to avoid harsh lines.
For eyeliner, use a pencil, gel, or liquid liner depending on your preference. Start from the inner corner and work your way out, keeping the line as close to the lash line as possible. Winged eyeliner adds drama, while tightlining (lining the waterline) gives a more subtle definition.
Finish with mascara to add volume and length to your lashes. Apply from the roots to the tips, wiggling the brush to ensure even coverage.
8. Lips
For a polished finish, apply lip color last. Start with a lip liner that matches your lipstick to define the edges of your lips and prevent feathering. Apply lipstick or lip gloss with a brush or directly from the tube. For a more precise application, use a lip brush.
9. Setting Spray
To lock in your makeup and help it last throughout the day, use a setting spray. Hold the bottle about eight to ten inches from your face and mist lightly over your makeup. This step helps to meld the makeup together and reduces the appearance of powdery residue.
Conclusion
Makeup application is a skill that improves with practice. By following these steps and experimenting with different products and techniques, you can create a look that enhances your natural beauty and suits any occasion. Remember, makeup is not just about concealing imperfections—it’s about expressing yourself and feeling confident in your skin.